Monday, April 24, 2006

Hitting the Wall

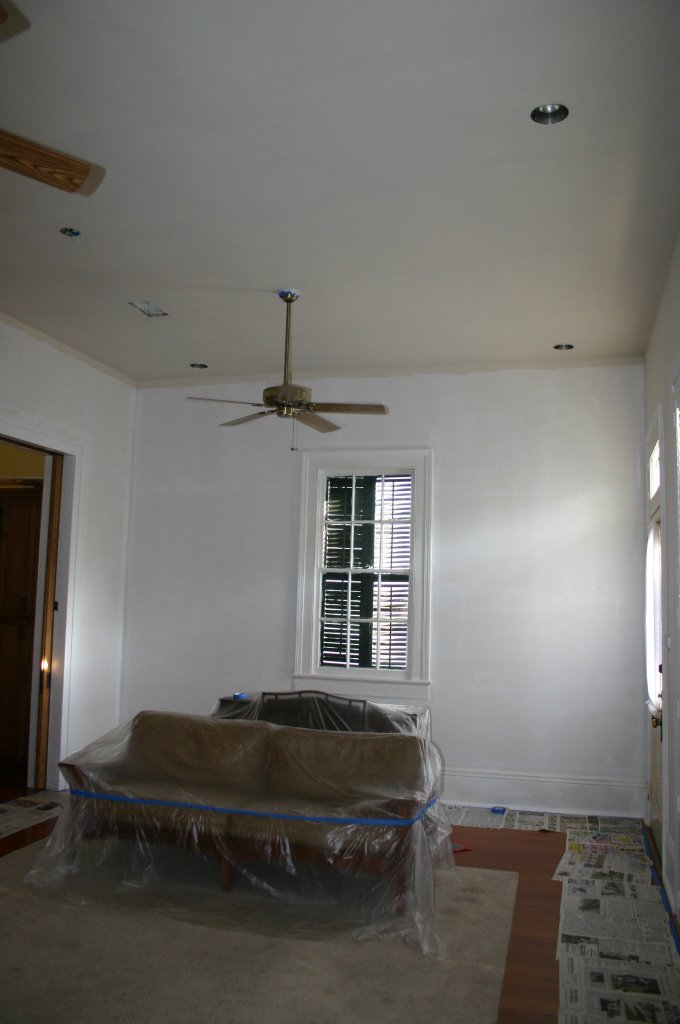
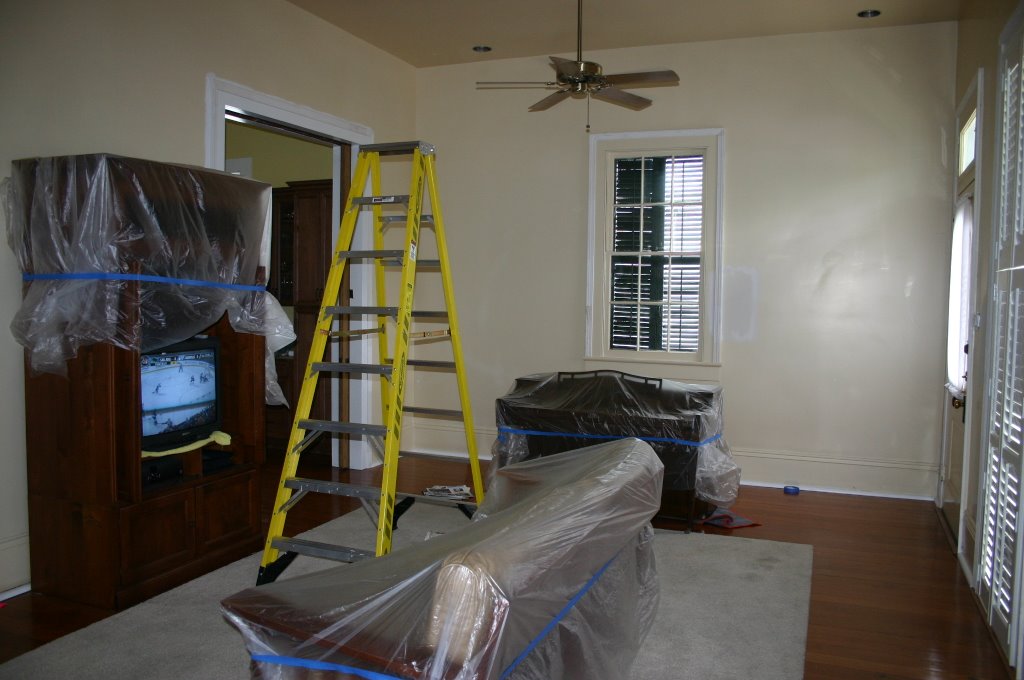
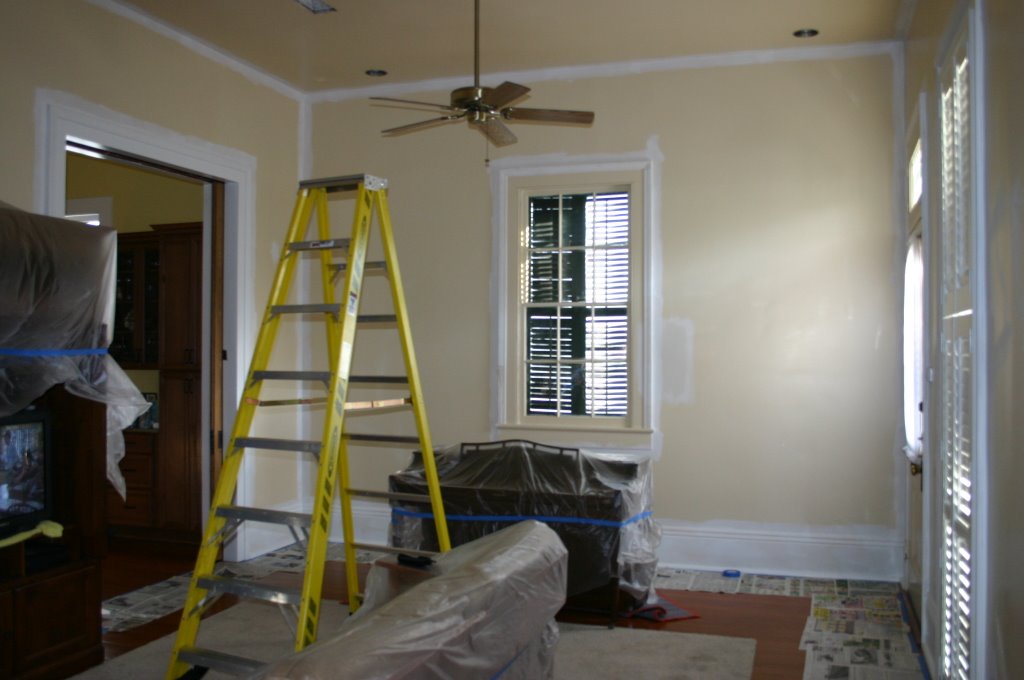
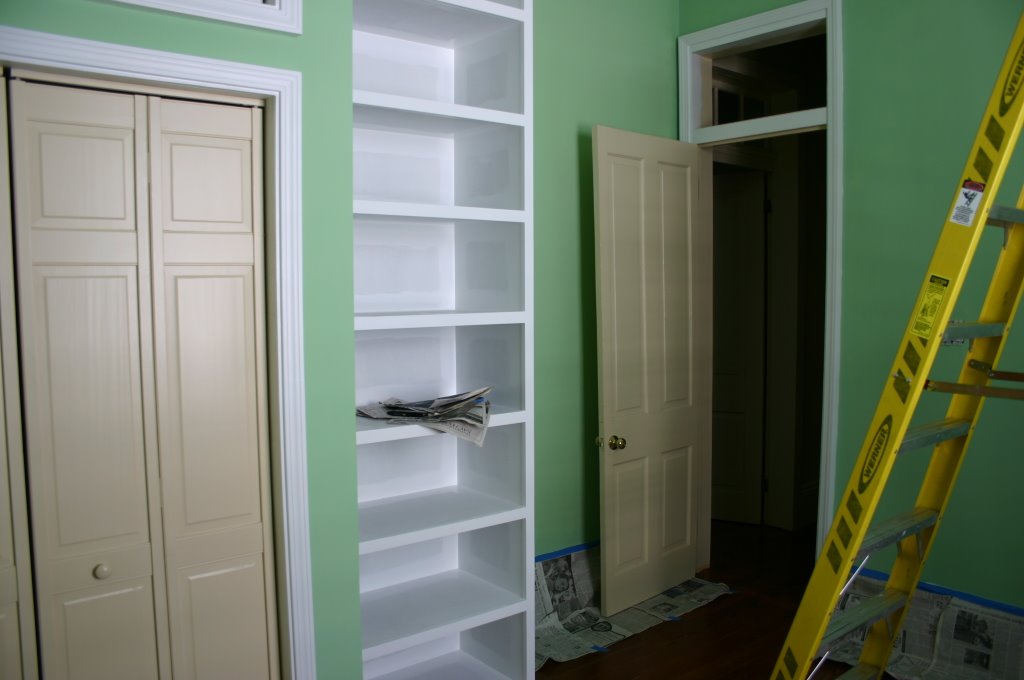
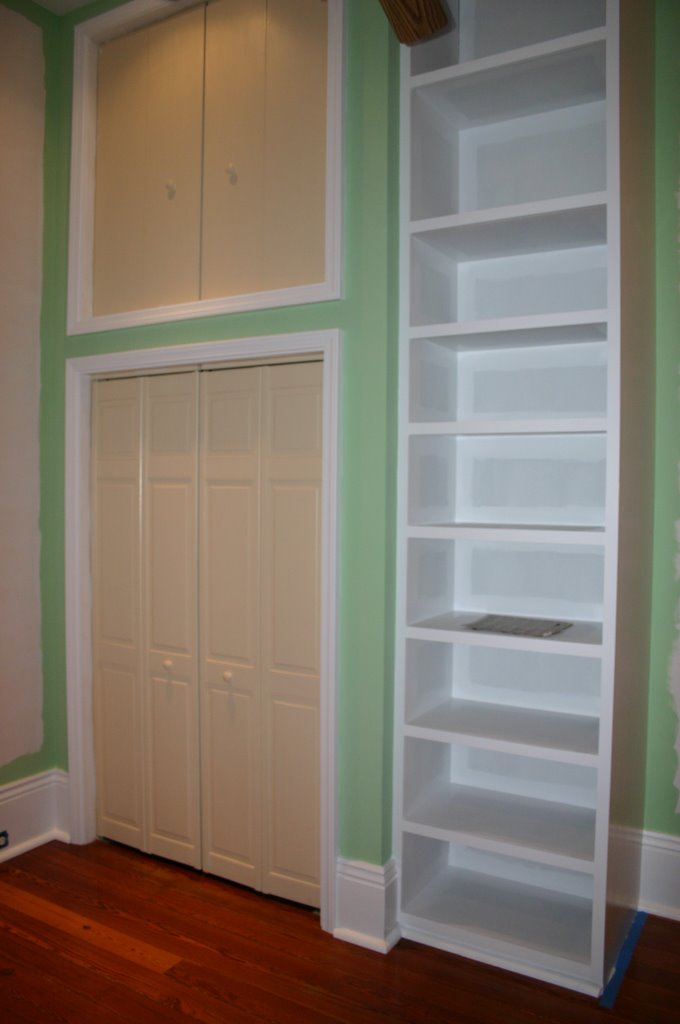
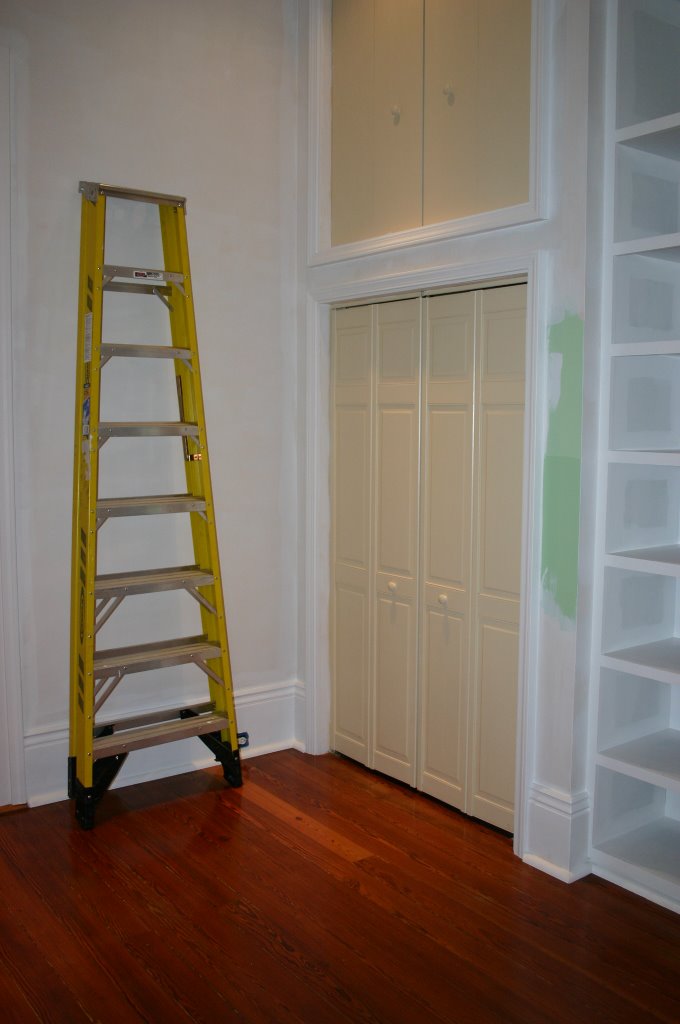
So I hit the wall this evening - and not with paint. After dinner I managed to do the first coat of trim paint on the kids' bedroom window, transom, and closet doors. I then moved on to the first coast of trim paint on the great room trim. The first sign that I had enough was that I just couldn't stomach the thought of painting another window. So skipped the inside of the window and just painted the frame since that was all I needed done in order to do the cut-in of the wall paint.

But 5 minutes later as I was starting on the first of our two doors, I realized that I had hit my limit. It wasn't that I was physically worn out - I'm sore, but in the good "I've had a good workout" kind of way. It was that mentally I'd had all that I could take and no amount of good music to listen to or hockey on the TV could keep me going. I managed to push myself through the door, one front window and the baseboard in that half of the room and then called it a night.

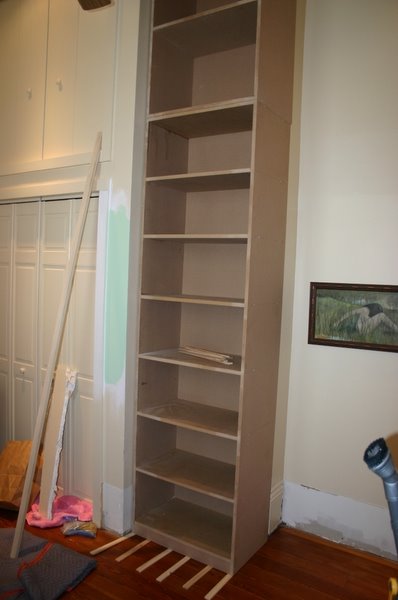
So I'm at the point where I'm going to wrap up my big push. Before I leave for Mobile, I need to at least get the last coat of ceiling paint done in the great room. And I should try to do the final coat of trim paint in the kids' room (leaving the shelves unpainted though). That's all I'm going to try and accomplish tomorrow. The rest of the time I'll focus on work, packing up, and taming the yard. With those few things done, I can at least return the house to a semi-normal state for our boarder Alex while we're gone.

After the kid arrives and we've started to adjust to our new two kid reality, I can consider a weekend trip back to N.O. to wrap up some of the projects. There really isn't that much work left but its definitely too much for me to take on right now.

The Ceiling Is The Limit


This morning my body was one giant ache so I took the morning off and worked my regular job. This afternoon I primed the walls of the great room and then did the cut in and first coat of paint on the ceiling.

I also took a bit of time and started cleaning up all the tools and construction supplies I won't be using before I go to Mobile. One thing I had to deal with was the many sections of 16 foot quarter round I had painted. It was sitting in the middle of the kitchen and making it hard to use the kitchen. Since its so long, it will only fit in the kitchen or living room of the house. I didn't want to store it in our out building since it would get dirty of there. So I finally ended up putting it up on top of a couple of our kitchen cabinets. It looks funny but at least it is out of the way until I can get back to installing it.

Sunday, April 23, 2006

Prime Opportunity


I realize these aren't the most exciting posts in the world. I'm making them to keep Holly abreast of all the work I'm doing while she and Will are in Mobile. Unfortunately, it means that I also have the camera so you're not getting the regular pictures of our cute kid. Instead you get an endless progression of shots of paint drying. Exciting, eh?

Tonight I primed the ceiling and all of the doors and windows. It took a lot out of me to get it done but it means that I can do the first coat on the ceiling tomorrow morning and then start on the two coats of trim paint I need to do before I can do the cut in on the walls.

At some point in the middle of all that, I'm going to switch gears to putting together the kids' room - I have a crib and bed to put together and then I can move in a bunch of furniture. I also need to complete the painting in there if I can. I'm hoping I can do that painting at the same time I paint the trim in the great room.

A Change of Scenery


Today I did the final coat of green in the kids' room and touched up the ceiling. I still need to do more coats of trim paint on the shelves, window, and transom but I can do that as I have time over the next few days.

This afternoon, I moved on to the living room where I moved out as much furniture as I could and I did the cut-in on the walls and baseboard using the primer. Tonight I roll the primer on the walls and ceiling as well as prime the windows and door frames.

Tomorrow morning, I can then do the first coat of paint on the ceiling (we're using the same color paint as the walls) and paint the trim. Tomorrow night or Tuesday morning I'll then be able to do the final coat on the ceiling and first coat on the walls.

Saturday, April 22, 2006

Rub A Dub Dub


We had our clawfoot tub in the master bathroom refinished over the last few weeks. When we bought the house from the bank, they had done the bare minimum to make things look systematically ok. In the case of the tub, this meant that it was painted with a high gloss household paint. This obviously would not have held up to any kind of use so we wanted a more durable finish. Holly found a local fellow who does a spray on silica based coating.

So two weeks ago, I went ahead and stripped the paint off of the tub - and prompty discovered that the bank had patched the dings with wood filler! Todd, our tub guy came in a properly patched up the holes and completed the spraying this afternoon. The results are tremendous and I can't wait to finally get to use the tub.

Let The Green Times Roll


Second coat of the cut-in and first coat of the wall paint. And I only have two green spots on the ceiling to touch up so far.

Friday, April 21, 2006

It's Not Easy Painting Green


I spent the morning doing the final coat of trim paint on everything except the interior of the shelves (I'm going to paint those tonight). I also installed the recessed light trim and re-installed the smoke alarm and vent cover. After lunch I did the first coat of cut in of the wall paint. It was a very tedious process and took me almost 4 hours to do everything but I'm very happy with how it came out. It's hard to see how clean the lines are in the picture since the reflections from the camera flash on the white trim obscure things.

Tonight I'm going to work on painting the shelves, the window, and the transom over the door (and maybe the upper closet doors). Tomorrow morning I'll do the second cut in of the wall color - it will go much more quickly since I don't have to paint right up to the edge. Then I'll tape newspaper up to protected the baseboards from paint splatter and roll the first coat of wall paint. Sunday morning I'll be do the final coat of wall paint and final shelf painting. In between all that, I'm going to try and sneak in as much work in the great room as I can.

Thursday, April 20, 2006

More Room Pictures


Going Off Half Caulked


So it was a long day, and I'm having trouble coming up with catchy titles day after day. Other than my work's weekly status call this afternoon, I spent the entire day working on the kids' bedroom. First thing in the morning, I did the second (and last) coat on the ceiling. I then cut all the monster quarter round for the baseboards and painted the cut ends of it. While waiting for that to dry, I did the first coat of trim paint cut in on the shelving unit. Then I installed the quarter round, filled the nail gun holes, and caulked everything that needed it. Finally, this evening I did the first coat of white trim paint on everything.

Tomorrow morning my plans are to do the second coat of trim paint in the room and while I'm waiting for that to dry, I will start installing the quarter round in the front room. Tomorrow afternoon and evening I should be able to do the first cut in of the walls in green. I may even get to roll the first coat of paint. I'll just be happy to be painting something other that white for a change.

Wednesday, April 19, 2006

White is the New Beige


After working my real job all morning, I had a productive afternoon. After lunch I ran out and picked up enough colonial moulding for the kids' room. After that I managed to paint the ceiling and paint the first coat of trim paint on the quarter round (which I primed last night). Once the sun started to go down and it cooled off a bit outside, I installed the moulding in the room.

I had hoped to paint the second coat on the ceiling tonight but in the evening the recessed lights make it too difficult to see where you're painting. So I'll complete the ceiling first thing tomorrow morning. Which leaves me spending the rest of the evening filling the nailgun holes in the trim and caulking where needed. If I have time, I'll do the second coat on the quarter round so I can install it tomorrow morning.

Oh yeah, I also did the cut in with the white trim paint on the uppermost shelf (just to use up the paint I had already poured into a cup). If you look closely at the picture, you see the edges already look much whiter.

Tuesday, April 18, 2006

One Last Thing Tonight


After wrapping up the trim in the great room this evening, I decided not to push myself and work on the ceiling in the bedroom. Instead I took care of mundane things - laundry, dishes, putting tools away, etc. After that, I spent an hour or so priming all the quarter round moulding for the bedroom and great room. Now I'll be able to paint it with the trim paint at the same time I do the bedroom.

The only downside to this is that I'll now be sleeping on Will's mattress in the kitchen. So no falling asleep to the warm glow of the television tonight.

Before and After, Colonial Style


When we purchased our house, all of the trim around the doors and windows was simple boards with no details. While it was a nice clean look, it was missing that something extra you would expect in a historic home. As we visited other homes in New Orleans, I noticed that many of the nicer ones had an edge detail on the door and window frames. I soon learned that this was called "colonial" moulding and was available at our local lumber yard.

I picked some up today while I had my neighbor's truck and originally intended to just store it in the out building until I had a chance to install it. However, since I'm getting ready to prime and paint all of the trim for the kids' bedroom, I decided to go ahead and install it so that I could paint it at the same time.

The before and after pictures don't really do it justice - the little extra detail the edge trim gives the framing around our doors and windows really makes the room much more elegant looking.

Odds and Ends


This morning when I woke up, my body told me in no uncertain terms that I need to take it easy or I would end up sick. So I made a deal with it - it got me through the early morning chores of picking up two panel doors from the strippers and a bunch of trim from the lumber yard. In return, I took the late morning and afternoon off and worked my real job. I'm now feeling much better and I am planning on a productive evening of working on priming the quarter round for our floors and also painting the ceiling in the kids' room.

Monday, April 17, 2006

In the Nick of Prime


This morning I did all the cut in on the walls and doors for the primer. I took the afternoon off to clean up the house and start packing up what I'll need for my stay in Mobile. I even snuck in a 1 hour nap since I was up so late last night.

This evening I then rolled all the primer onto the shelves, ceiling, and walls. The lighter color makes the room look much larger so I can't wait to get the final color up on the walls. I've arranged to borrow a neighbors truck tomorrow morning so I'll spend the early morning picking up two of our panels doors from the paint strippers and, if time allows, also getting the shoe and colonial moulding for the bedroom and front room.

Tomorrow afternoon I hope to be able to install some of the molding and start painting the shelves and trim with the first coat of the white trim paint. If time allows, I'll also do the first coat of white ceiling paint as well.

Sunday, April 16, 2006

Prime Time


This is what three and a half tedious hours of priming gives you. I did all of the cut in on the shelves and the ceiling. Tomorrow morning I will roll primer on to both the shelves and ceiling. After that I'll move on to priming the window, door frames, and the walls.

Y.A.S.P. (Yet Another Shelf Post)


Day 5 of working on the shelves and they're finally ready for paint. This morning I installed the baseboards around them. I then caulked and filled in the nail gun holes. I followed that with lots of sanding and even more vacuuming and damp wiping to get rid of all the dust. This evening I've just now off the area and hope to apply the first coat of primer tonight.

I did at least take the afternoon off to play some unicyle polo since it was Alex's last game before he heads up to work at Hershey Park (as a professional juggler/dancer/entertainer) for the summer. After that I spent the early evening getting our master bedroom and bath cleaned up for the other Alex (our boarder) since he'll be using that room while I rennovate the kids' bedroom (I'm sleeping in the front room for a few days).

Saturday, April 15, 2006

Shelves, Day 4


I took a few days off of my woodworking towards the end of this last week to help watch Will in the afternoons so Holly had more of a chance to rest and pack for her transition to Mobile until the baby is born. After driving back from Mobile this morning, I finally got back to the shelves after lunch today. I completed the siding and trimmed out the front with poplar 1" x 2" boards. Now all that is left is to reinstall the 12" baseboards and the 1 1/4" quarter round toe moulding.

You can also see the paint colors we were considering for the room. We're going with the darker of the two green colors and white trim. The shelves themselves will be white as well.

Monday, April 10, 2006

Day Three of the Monolith


Will had a late nap today so I only had a small window of time between his nap and dinner (and I actually woke him up from his nap when I tried to get an earlier start). I managed to anchor the shelves to the wall and put on the lower sheet of 1/2" MDF to cover up the screw holes and carry the side of the shelves all the way to the back wall (hiding the fireplace bumpout). It was a lot of tedious work but I'm pleased with the fit to the wall - I should be able to caulk the remaining gap and paint over it with no problems.

Tomorrow I hope to find time to complete the siding. After that I'll probably hold off on the trim work until the weekend when our boarder, Alex, is out of town. The detail work will involve a bunch of sanding so I'll want to take the bed out of the room first.

Sunday, April 09, 2006

Woodworking, Phase 2


Saturday I talked an innocent neighbor into helping me carry the bookshelf into the kid's bedroom. It was almost too much for the two of us to carry. After it was over, Holly thanked him with some Black Moons (chocolate cake cookies with marshmellowy filling) so hopefully he'll still talk to us after the experience.

Sunday morning I built the upper unit which will eventually have a set of cabinet doors on it and be used for longer term storage. Both units have been moved into the corner and I'll be working on fastening them to the wall tonight. This afternoon my father-in-law was in town (came along for Holly's baby shower) and he helped me pick up the sheets of wood I'll need for the facing and also the set of bookshelves to go in my new study.

The fit into the corner in the bedroom has been fun. Nothing in this old house is square so I've designed the exposed side of the shelves to actually cover up the little bumpout for the fireplace. The wall slopes so far back over its twelve foot height that the top shelf unit is actually 1 1/2 inches deeper than the bottom one. On the left side, the closet wall was so off of square at the back that I had to cut out a huge chunk of drywall for the upper unit to fit into place.

Despite all the fun issues fitting the shelves, I'm still incredibly pleased with how they're turning out. Hopefully I'll be just as happy after installing the side panel (which needs to be scribed to a very wavy wall).

Saturday, April 08, 2006

Mardi Gras

Holly and I like to say that Mardi Gras in New Orleans is not what you see on "Cops" (the TV show). This is what it is. And more importantly, this is what it is to have lived in New Orleans this past year.

Friday, April 07, 2006

Basic Woodworking


As part of our mad scramble to get some of the rooms of the house together before Kate arrives, I've agreed to have a go at some basic wood-working projects. The first one is a monster shelf unit for what will be the kid's bedroom. The room has a funny little corner where a bumpout for the back of a fireplace meets the closet. This space has always been dead space in the room and Holly had the great idea of building shelves into it so that it could be used for something.

So this morning I armed myself with my newly purchased table-saw and a ton of advice from my boss and friend (an avid wood-worker, and also named Paul as a cool person should be :-) and I built an 8ft tall bookshelf unit for the corner out of two 4' x 8' sheets of MDF plus 8 precut 16" x 48" MDF shelves.

I must have had some serious beginner's luck working in my favor, since I am thrilled with the way they turned out. The build was not too complex - since the unit is going to be built in to the room I didn't have to worry about visible screws on the sides. The hardest part has been dealing with the weight - all told, it probably weighs around 200 pounds.

Tonight we're hoping to conscript a couple of our neighbors to help me carry the unit inside and slide it into the corner. Once it is anchored there, I will add a sheet of MDF on the visible side to hide the screws and have it flush to the wall (hiding the weird edge from the fireplace bumpout). Then all that will be left to do will be trimming out the face edges with some 1" x 2" poplar to give it a more finished look. And painting of course.

More pictures to come one the unit is inside.

Monday, April 03, 2006

Lights In for the House, Lights Out for Me

The last two weeks of long work hours and non-stop work on the house finally caught up with me Saturday night. I crashed hard and ended up sleeping away most of Sunday. I still crummy today but I'm at least well enough to sit in front of a computer for the moment.

The last thing I did Saturday night before passing out in my bed was install the last of the recessed lights in what is now going to be the kid's playroom. That makes a total of 31 recessed lights that I've installed (along with two speaker cutouts). And I hope I never have to do any more.

Our home's ceilings are drywall over plaster backed with lathe so cutting the 6" hole for each light is an ordeal that can take anywhere from 20 minutes to 2 hours per light, depending on what's behind it in the attic. Our master bedroom's four lights were the worst - there was a 2"x8" in between the rafters and it took me a whole weekend to drill out the holes. My cordless drill battery is only good for 20 minutes of constant use and swapping to the spare battery got me another 20 minutes. The batteries would get so hot that I'd have to put them in the freezer before I could recharge them.

And drilling the holes was half the battle - after the lighting cans were installed in the ceiling, I then had to wire everything up in the attic. That generally meant spending an hour or so (per room) on my stomach in 100 years worth of dust and cellulose (thank goodness it wasn't fiberglass) insulation. Wearing a dust mask helped a bit with the dust but nothing could help with the heat in our attic (over 110+ in the summer/fall).

So now all that is left, is the two-person job of permanently securing the cans into the ceiling. The clips they come with are designed for 1/2" drywall, not the 1 1/2" of ceiling materials we have. So instead I have to screw through the cans into wooden blocks and assistant holds up in the cieling. In the past Holly's dad was been the (un)willing assistant but I'm hoping to press our boarder, Alex, into service this time.

Hopefully I'll dig up some pictures of the process shortly though I'm sure you've heard more than you ever wanted to hear about installing recessed lights.